
Personal Creative Development- VFX (Simulation) #2
- Maggie Chan

- May 20, 2020
- 3 min read
Updated: Feb 20, 2021
After completing the fire simulation, I went onto other simulations related to Pyro FX e.g. smoke.
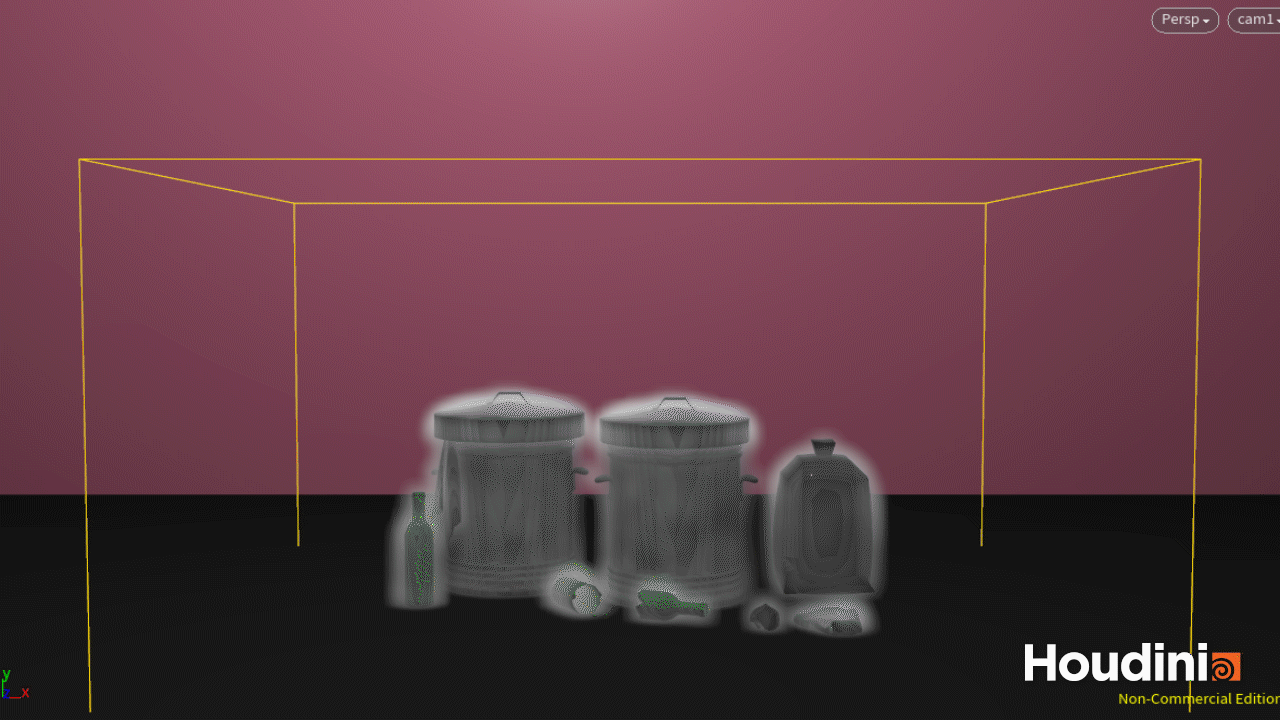
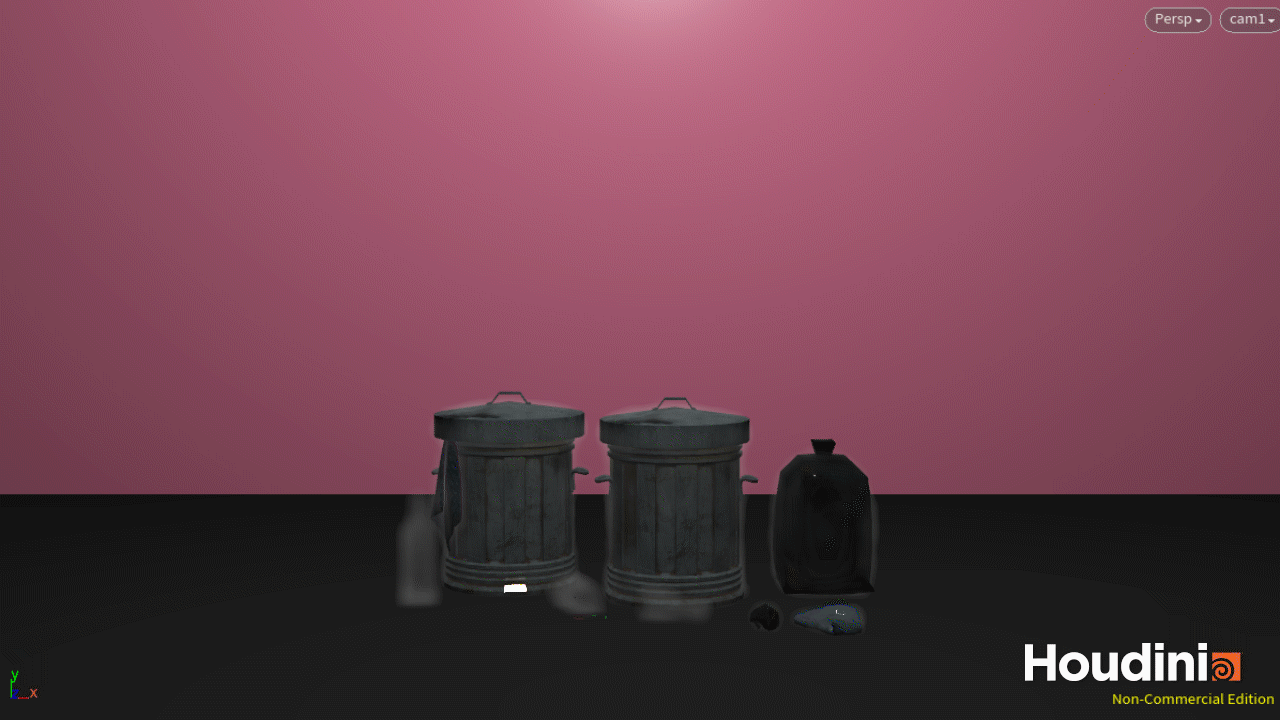
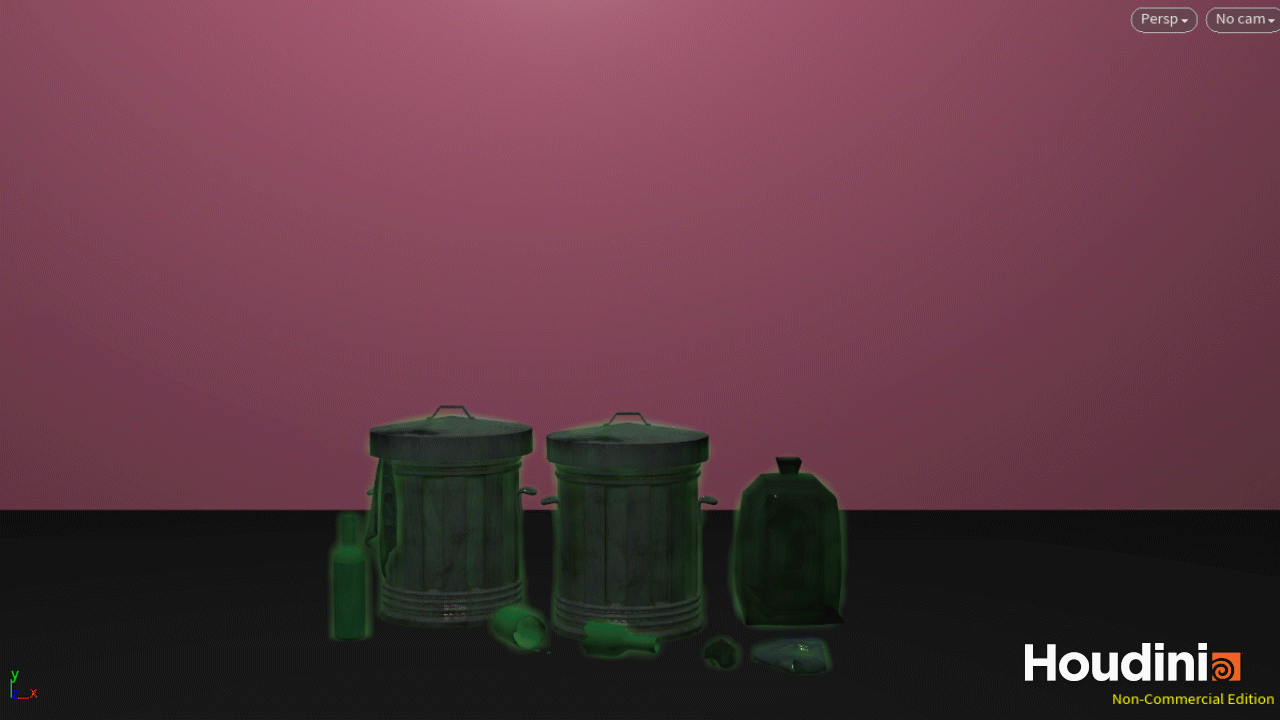
Smoke Simulation
Now with more understanding of how things work. I started combining the things I've learnt. For this smoke simulation, I wanted my object to disperse into smoke. Below is a tutorial by Mortiz Schwind (Entagma) on how to create the foundation of a smoke simulation from scratch. The nodes were similar to the Pyro FX flames which made it much simpler to tweak the settings to achieve the look I wanted. Then using the boolean node method I learnt through the practice letter disintegration tutorial to make the object to disappear into the smoke.

Progress: flipbook view

Final Render:
2. Model engulf by fire simulation
Next, to continue looking into Pyro FX I came upon a tutorial by Mortiz Schwind (Entagma). It caught my attention and thought it would go along with this project. After learning the method to get the fire spread around the object. Again I started figuring out and altering the settings/ values since the original settings from the tutorial doesn't work that well with my self-portrait model of the head. I also added some smoke to emphasise the high temperature of the fire.

Progress: flipbook view

Final: flipbook view

Final Render:
3. Masking/Spreading Simulation
For this concept, I used the same Pyro source spread node from the last simulation and a delete node I gained knowledge from Mortiz Schwind tutorials. The idea is to have this colourless model absorb by this new coloured skin layer. I have done this by merging the spread simulated geo with the model geo underneath.
Progress: flipbook view

Final render:
4. Disintegration Simulation
Finally, for a title for this project, I thought it will be interesting to apply the disintegration simulation I learnt earlier in this project.
Progress: flipbook view Since the text was longer I had to adjust some of the values until I was satisfied with the result.

Final: flipbook view

Final Render:

Finale Outcome:
For this project, I purposely kept the environment/setting in the same way with just one exception of the background colour changing so it looks uniform but still holds attention. In addition, I played around with the lighting for each scene to create different ambiences. I also limited the number of models I used so the viewer could primarily focus on the simulation rather than the object. The main goal of this project.
I have then used Premiere pro to gathered all the work together and added sound to emphasise the simulation and one long track in the background to build up a better flow of the video.
Sound credits:
Clean_Break (Youtube audio library)
Simon, D. (2017). Marbles Available from: http://soundbible.com/2199-Marbles.html
JaBa. (2011). Fire Burning sound. Available from: http://soundbible.com/1902-Fire-Burning.html
StarRock. (2006). Gas stove 1 Available from: https://freesound.org/s/24222/
Jagadamba. (2014). Fire burning in stove Available from: https://freesound.org/s/256419/
For the masking/spread fx I used my own record sound of a bubble wrap to imitate the sound that will go along with this action.
Some tips and tricks I've learnt throughout these tutorials and research:
-Selecting [enter] after selecting object/light to set in the centre
-Selecting [L] while hovering over the network to automatically clean up the layout.
-Selecting [D] over the viewport to access the background colour e.g. changing from light dark background for better visibility of the smoke.
--Shift enter to insert a connected node with the node that you were selecting.
-Creating a network box (with colour applied) for specific nodes to easily differentiate them for better access and time efficiency.

Reflection:
I am pleased with the overall result. There is certainly still a lot I need to learn such as making the simulations more realistic and accurate, using alternative methods, experiment more etc. nonetheless I have given my best effort. I wasn't sure what I was getting into with no experience. This project helped prove what I was capable of as I feel like I succeed my intentions. It had also greatly helped me learn a new software.
One of the issues I had was rendering before checking everything was in order which was extremely time-consuming. For that reason, I would ensure I had some sort of checklist to make certain I don't miss out any areas e.g. volume space, smoke, lighting. I would also be more conscious about my time management as I wasn't aware how long the rendering would actually be. Some would take 2-11 hours. I tried lowering the values however I didn't want it to lose its quality therefore planning ahead was essential which I think I did well.


Finishing this project I became very fond of this medium as well as the Houdini software. I hope to continue to build on my skills through tutorials and practice/experimentation in the future coming. I also find attached to Mortiz Schwind clips and tutorials which I will continue to follow.


Comments